Your bag
Press for magicDIY Ornaments

Just because your skin is covered head to toe doesn't mean you can't still have fun applying Tattly! Stick them on your favorite holiday crafts for a shiny new creation in minutes. Here's a step-by-step guide for DIY Tattly Ornaments.
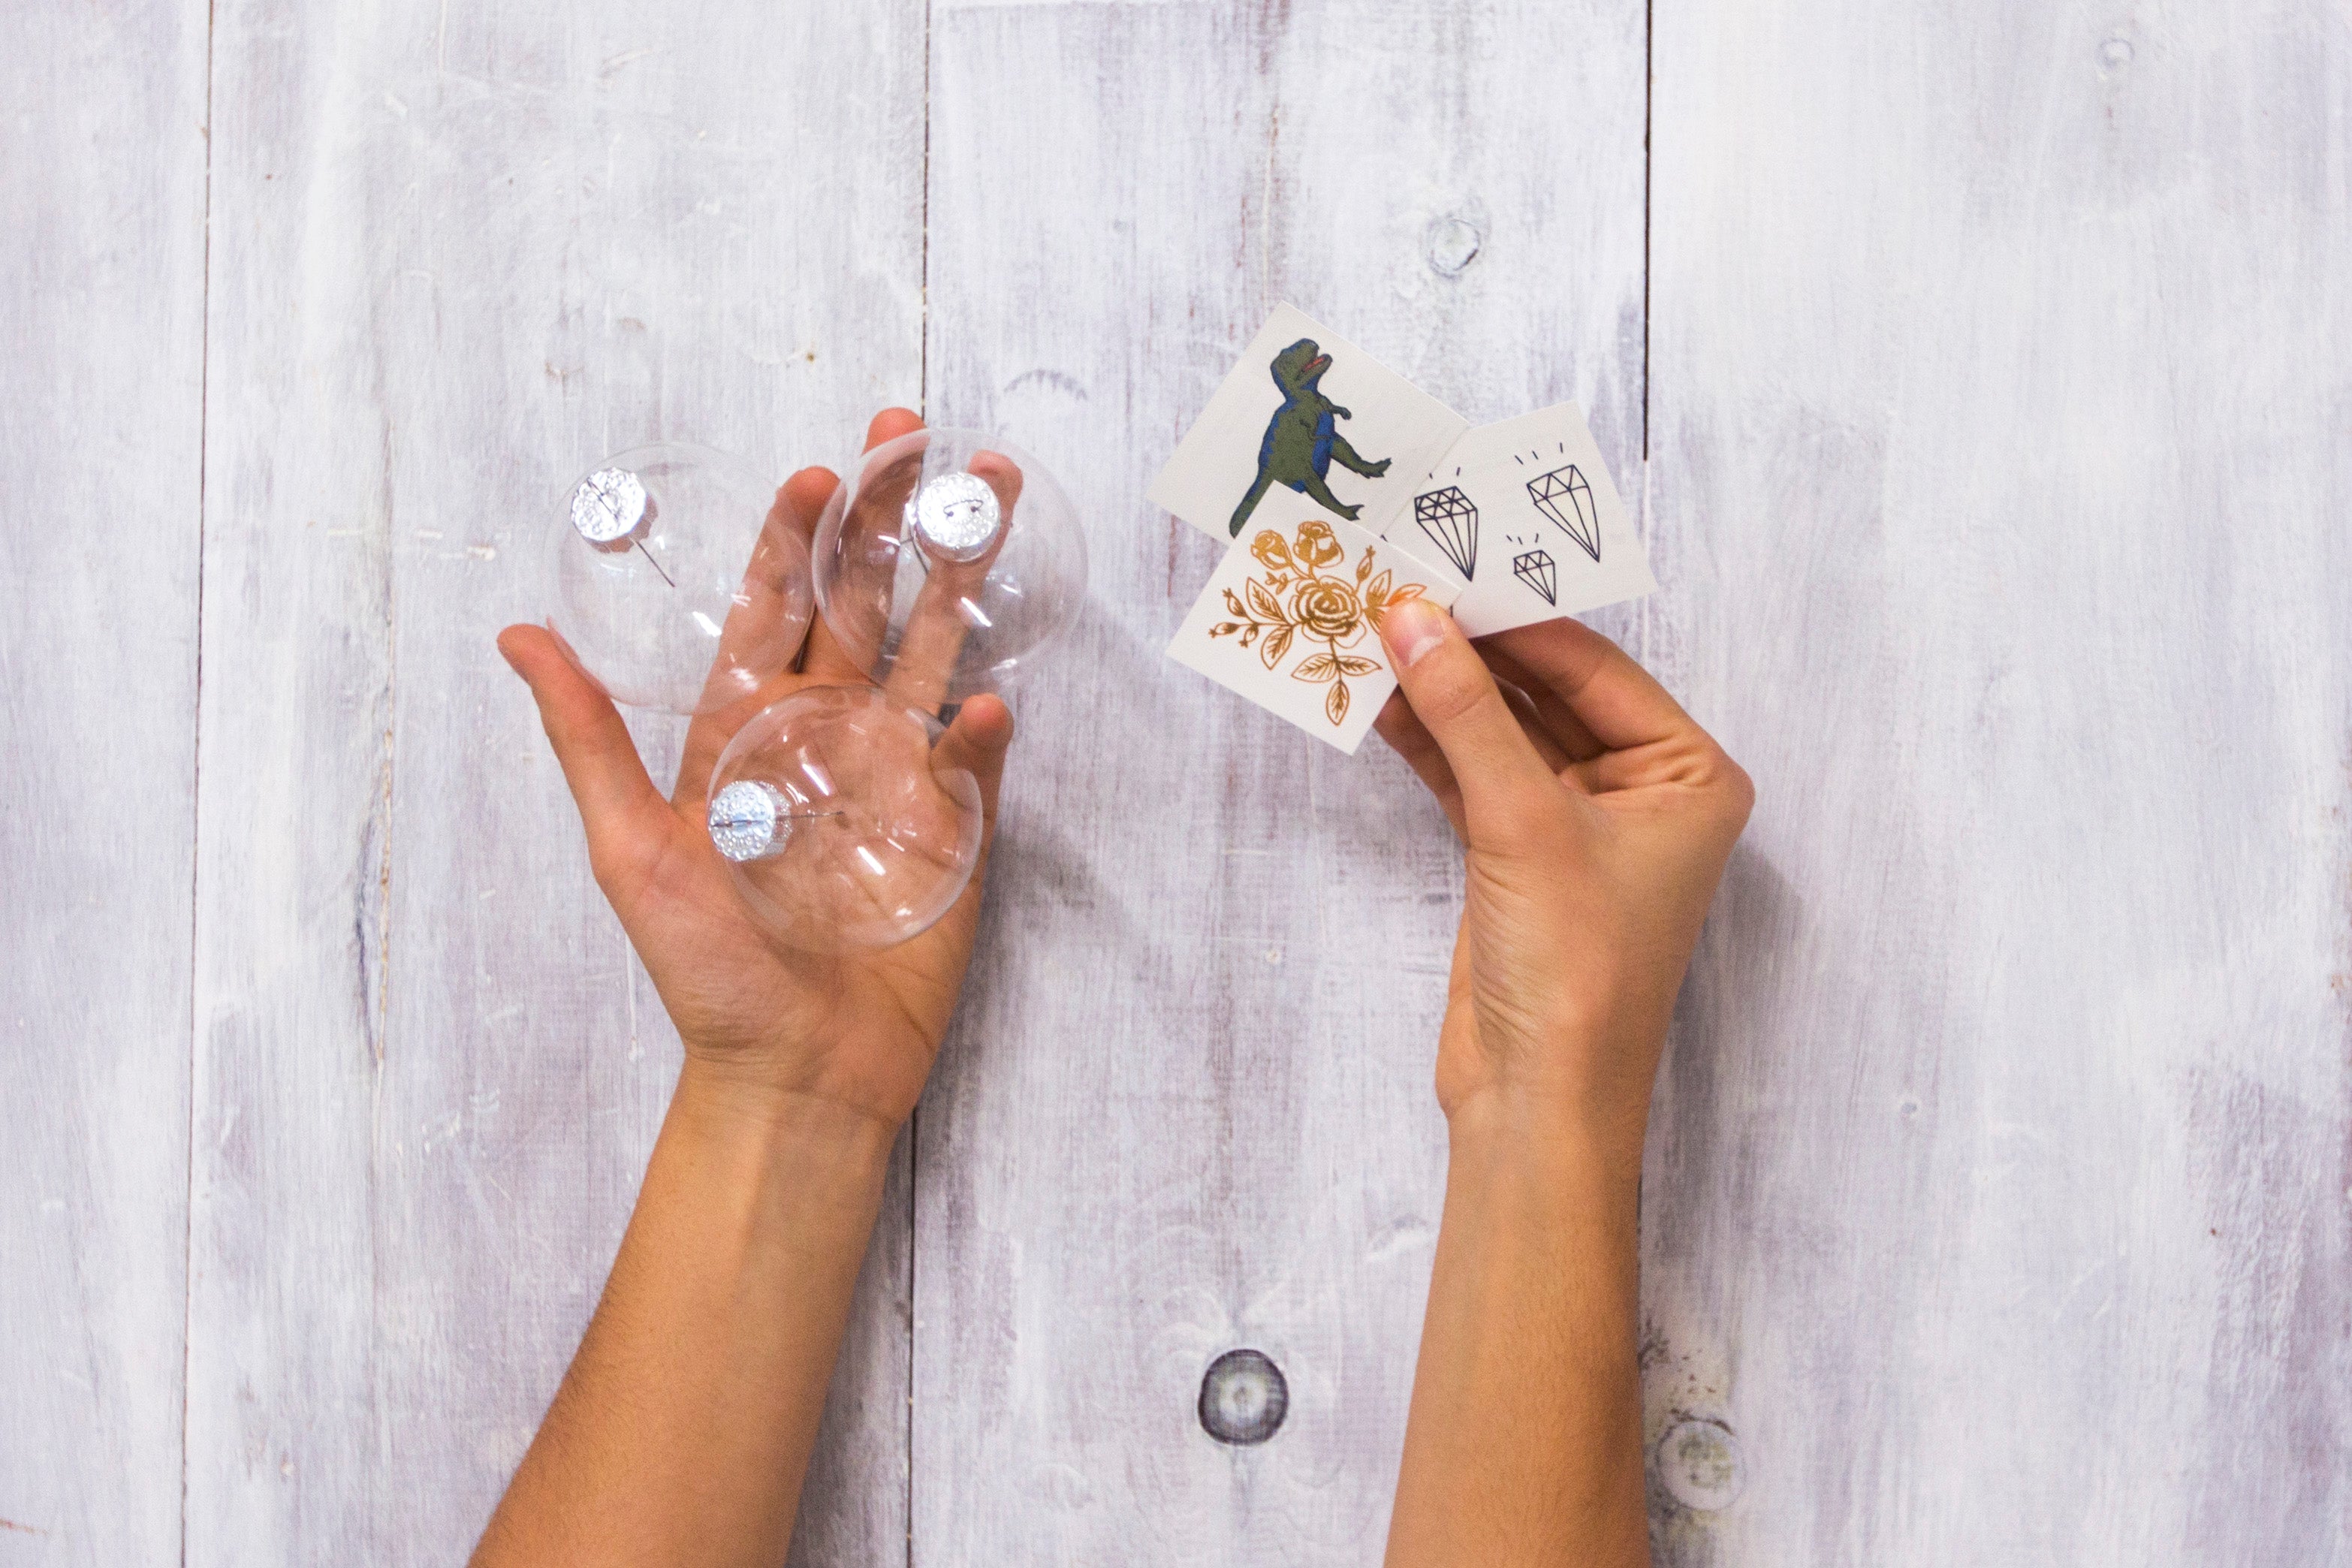
What you’ll need:
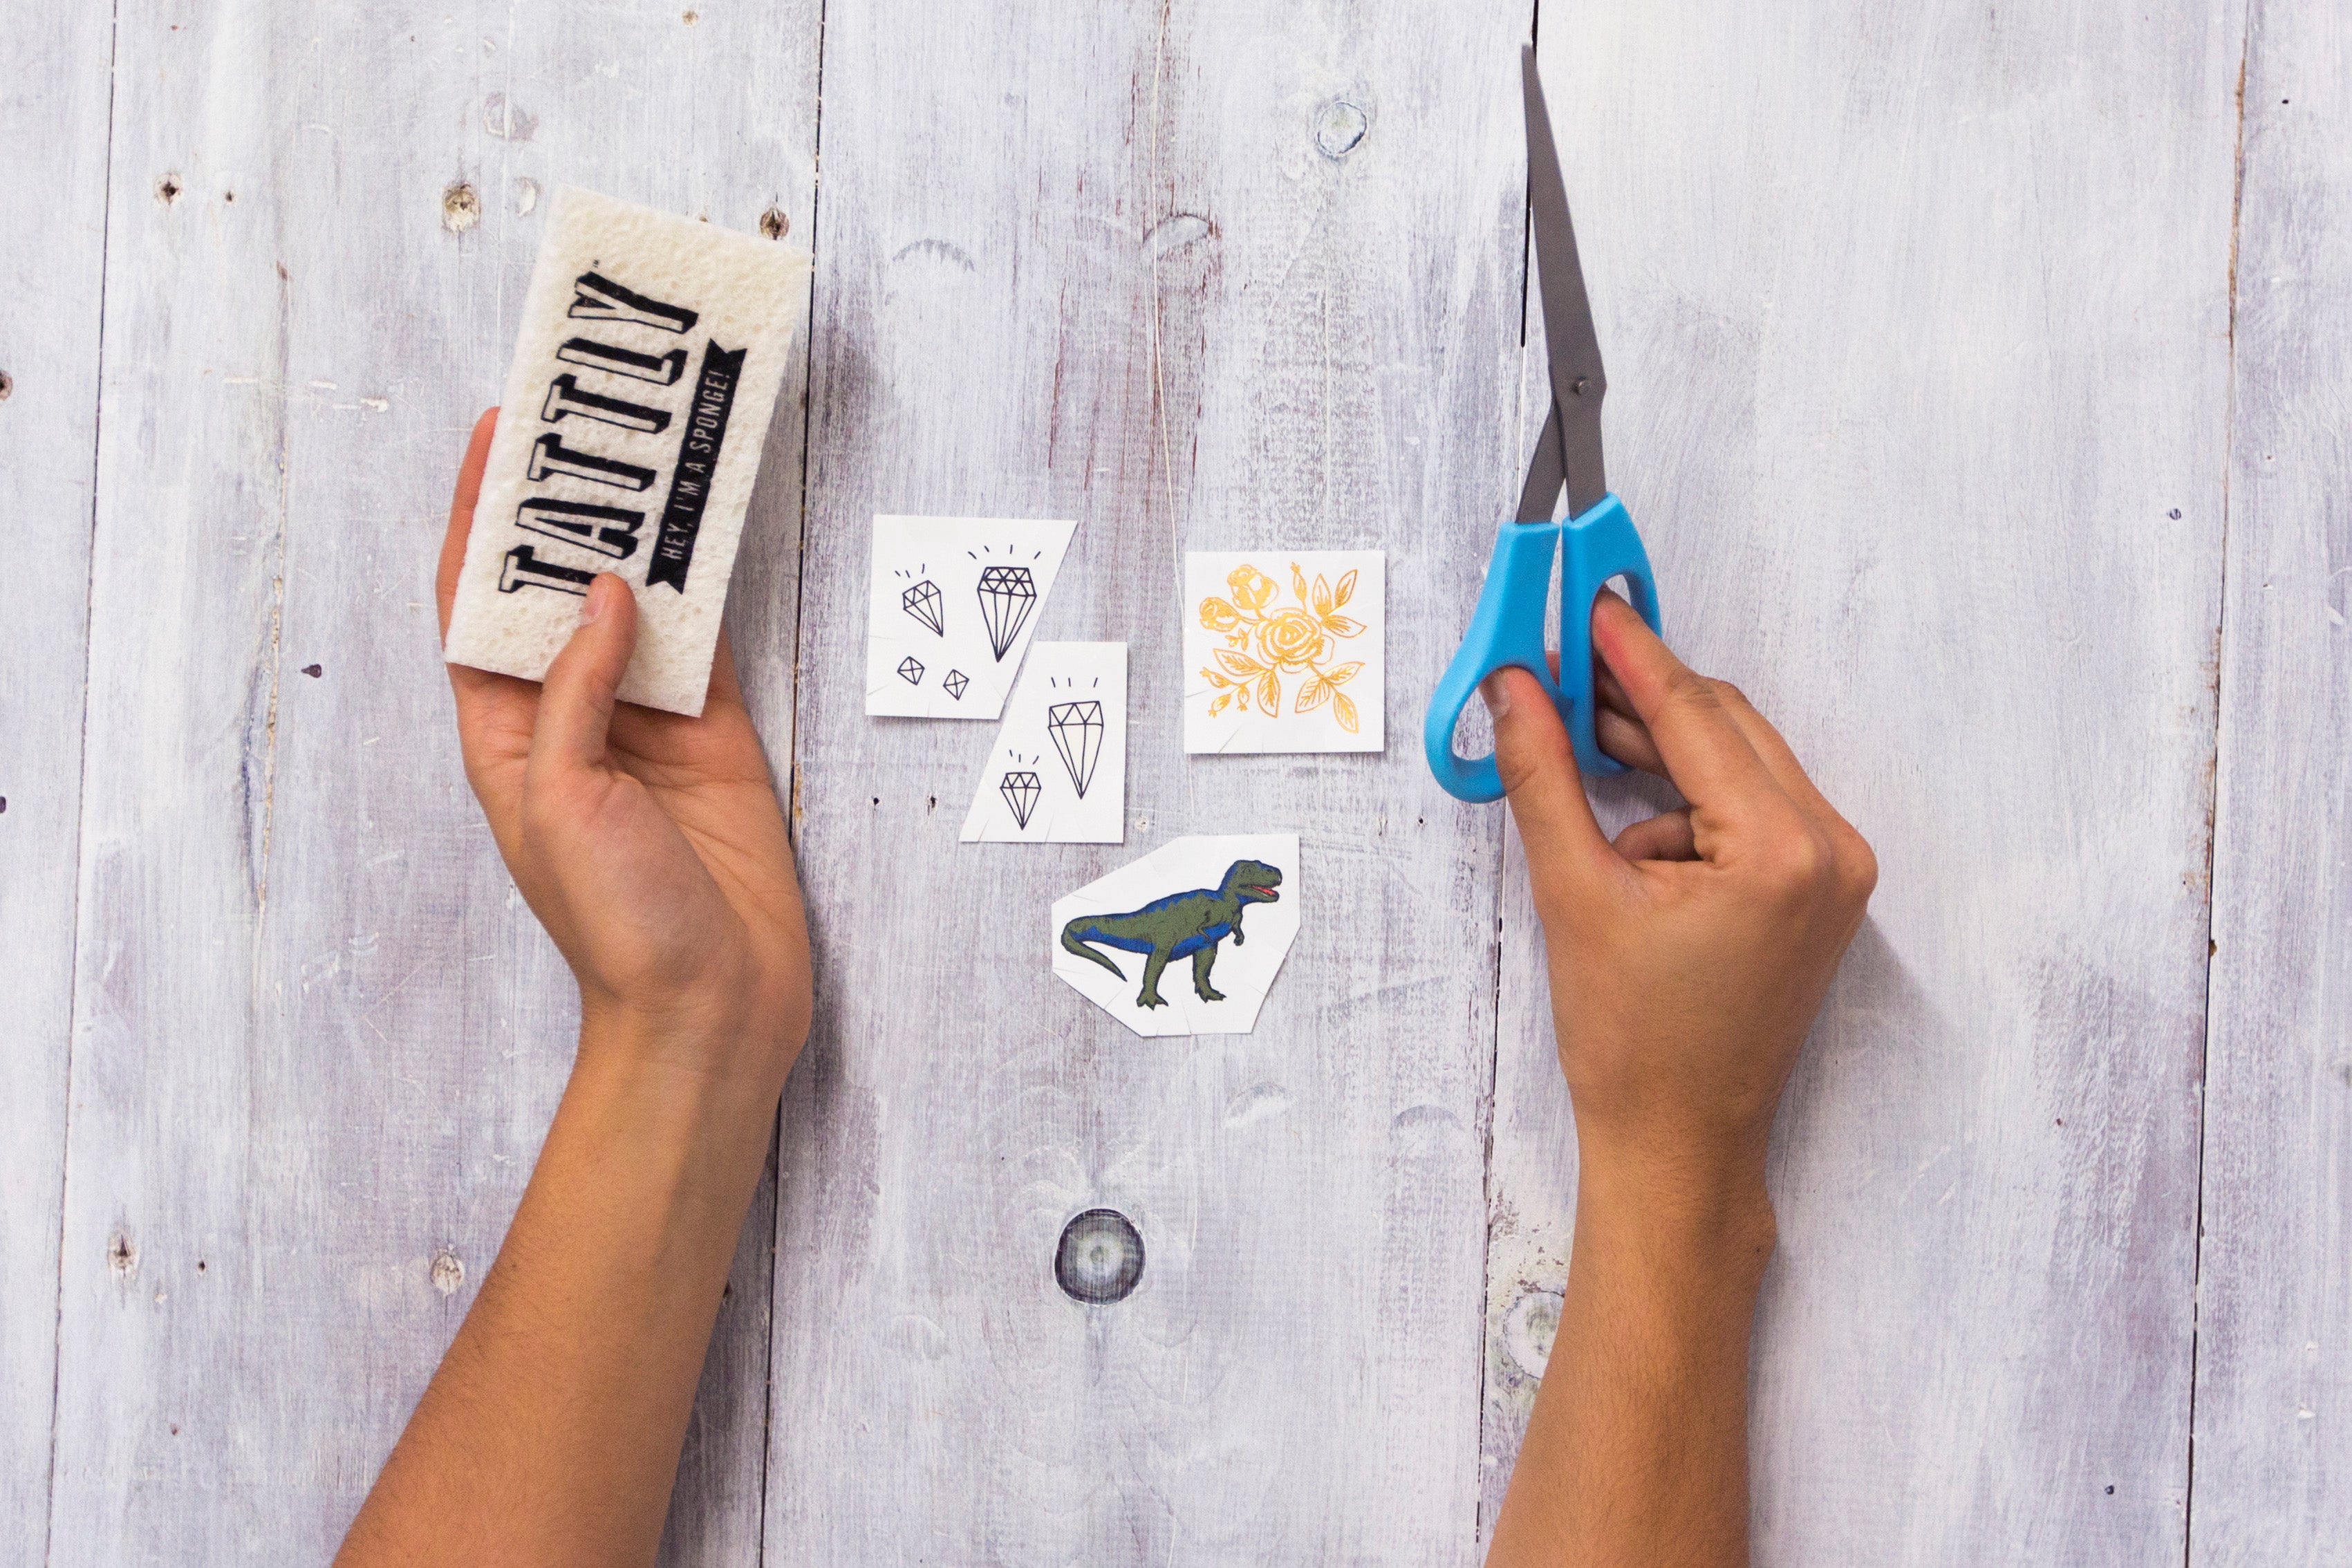
Cut away the negative space, but give yourself room to hold the paper without touching the design/adhesive. Make slits to help the application cover the round surface.
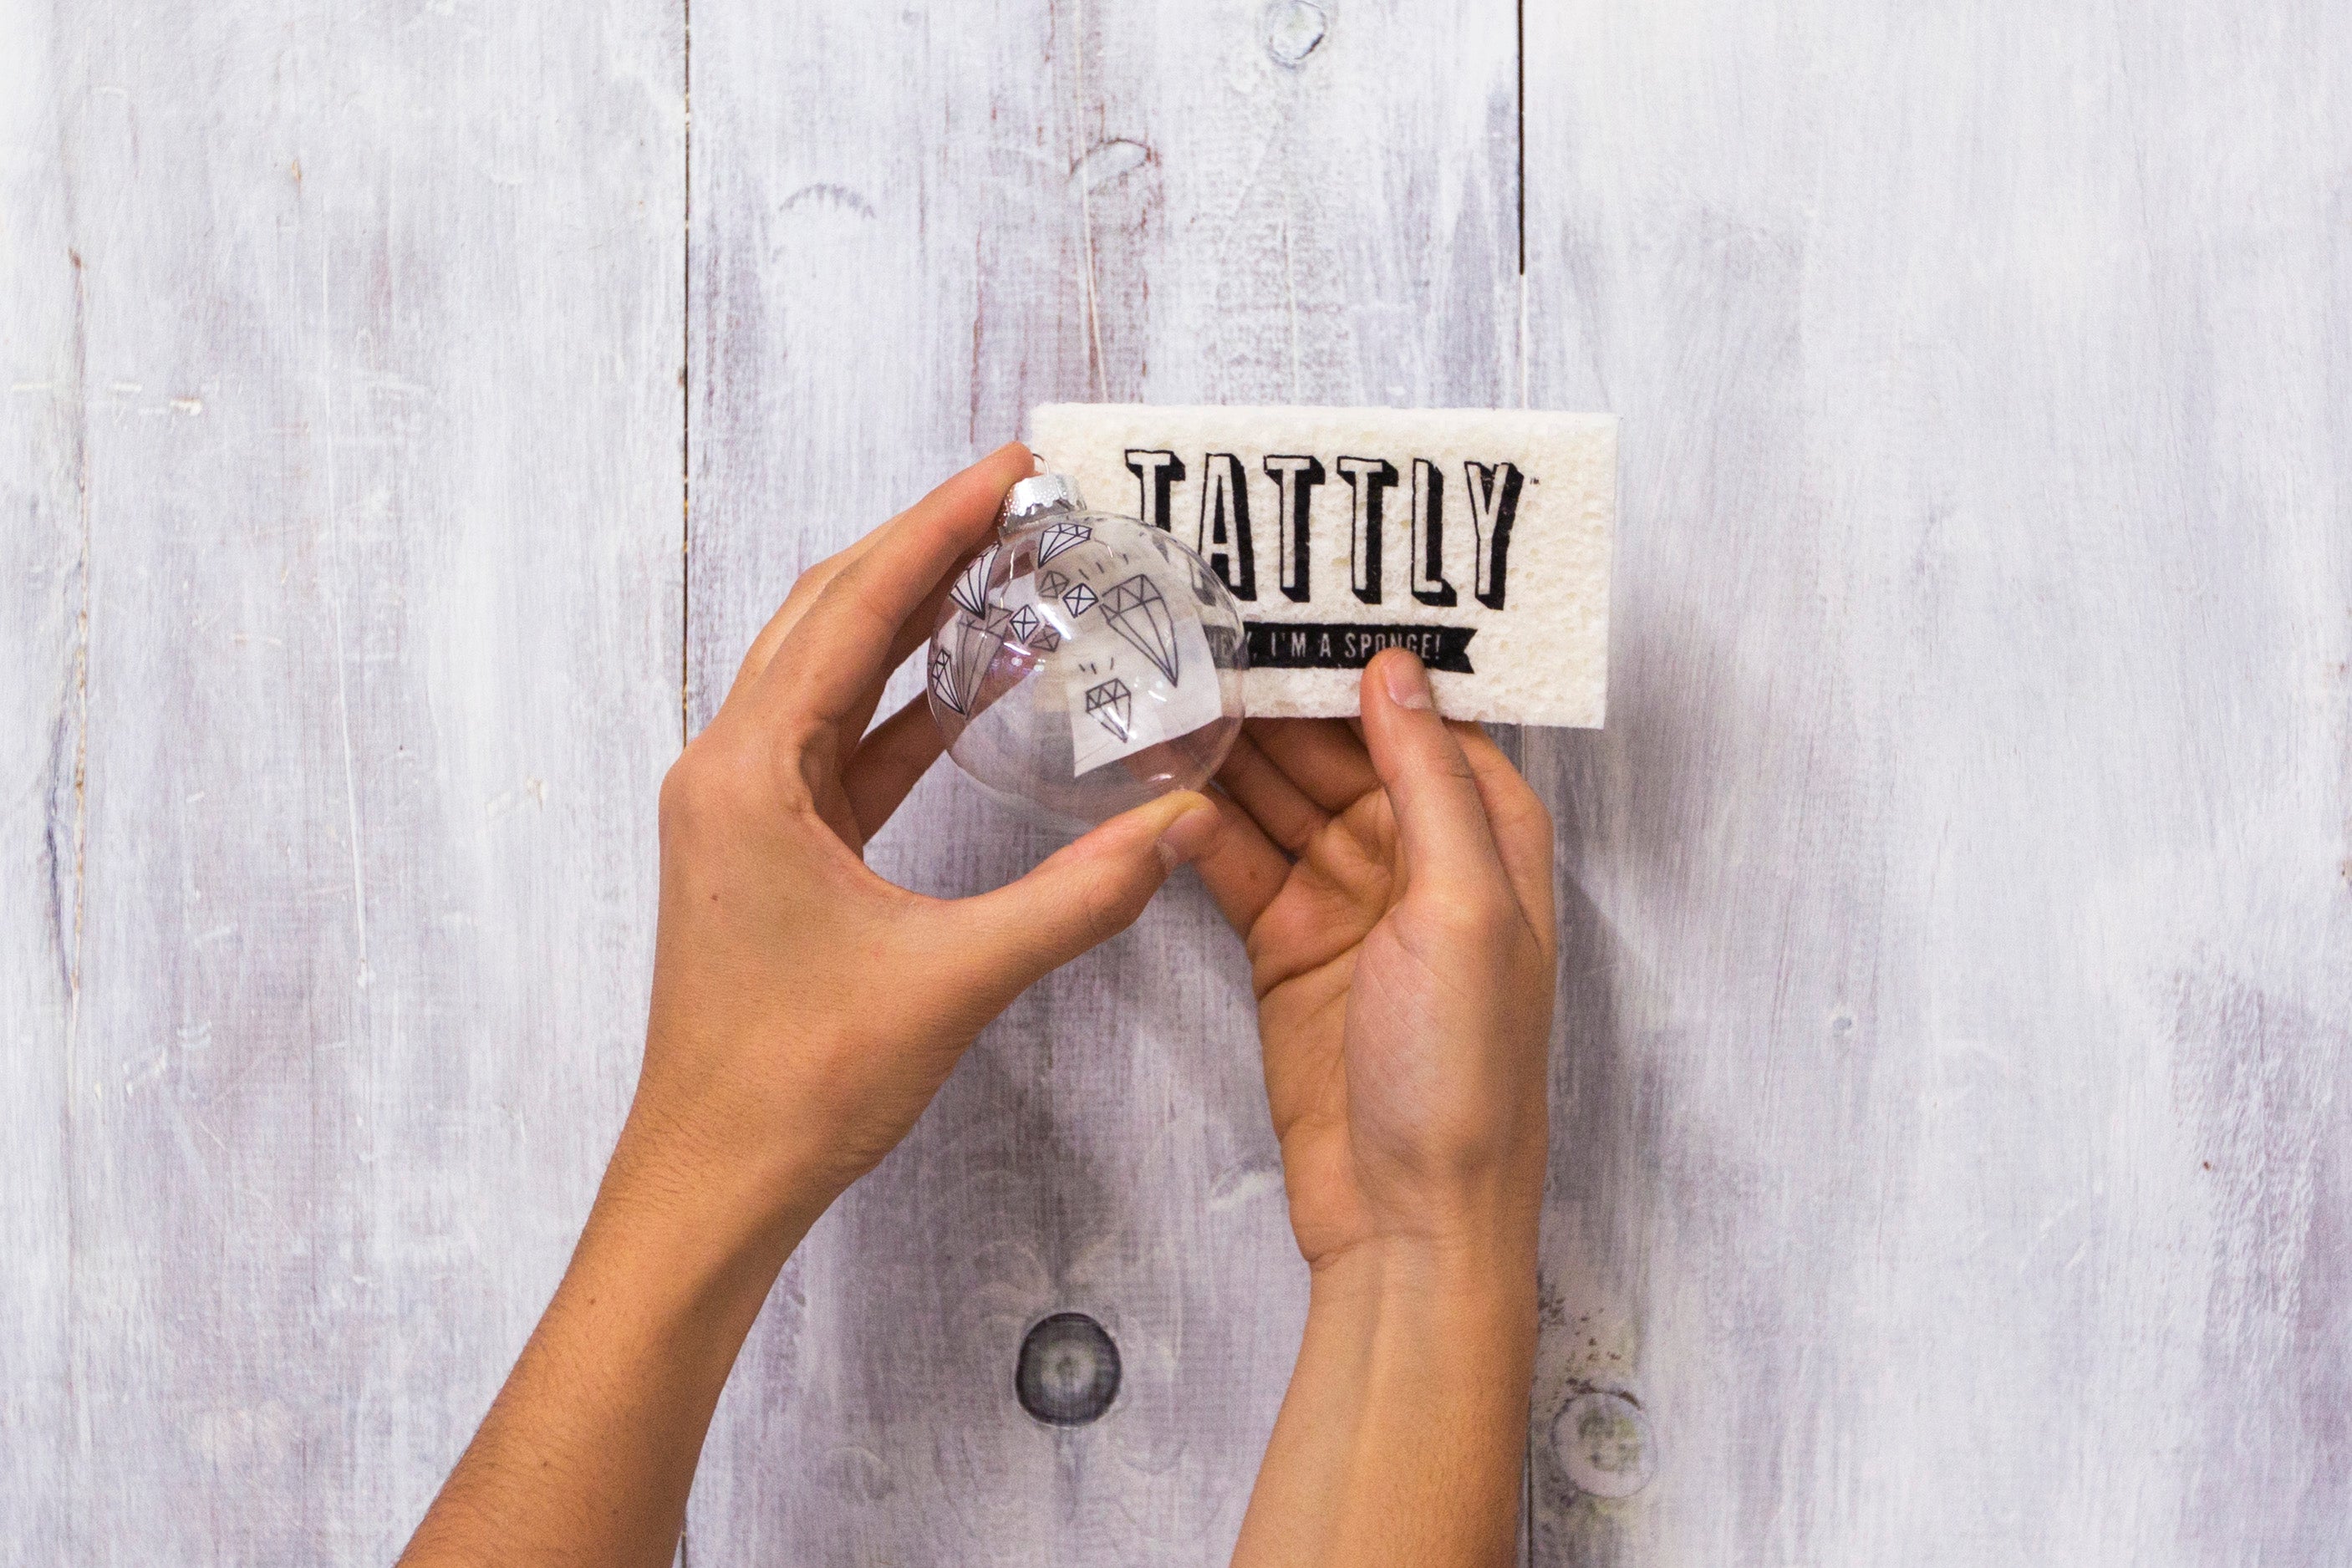
Applying to ornaments is the same as applying to skin. Instructions are on the back of every Tattly and we also have this fun video.
Don’t forget that you are working with adhesive and the designs are meant to be temporary. Handle your ornament with care and try to not touch the designs as you apply more.
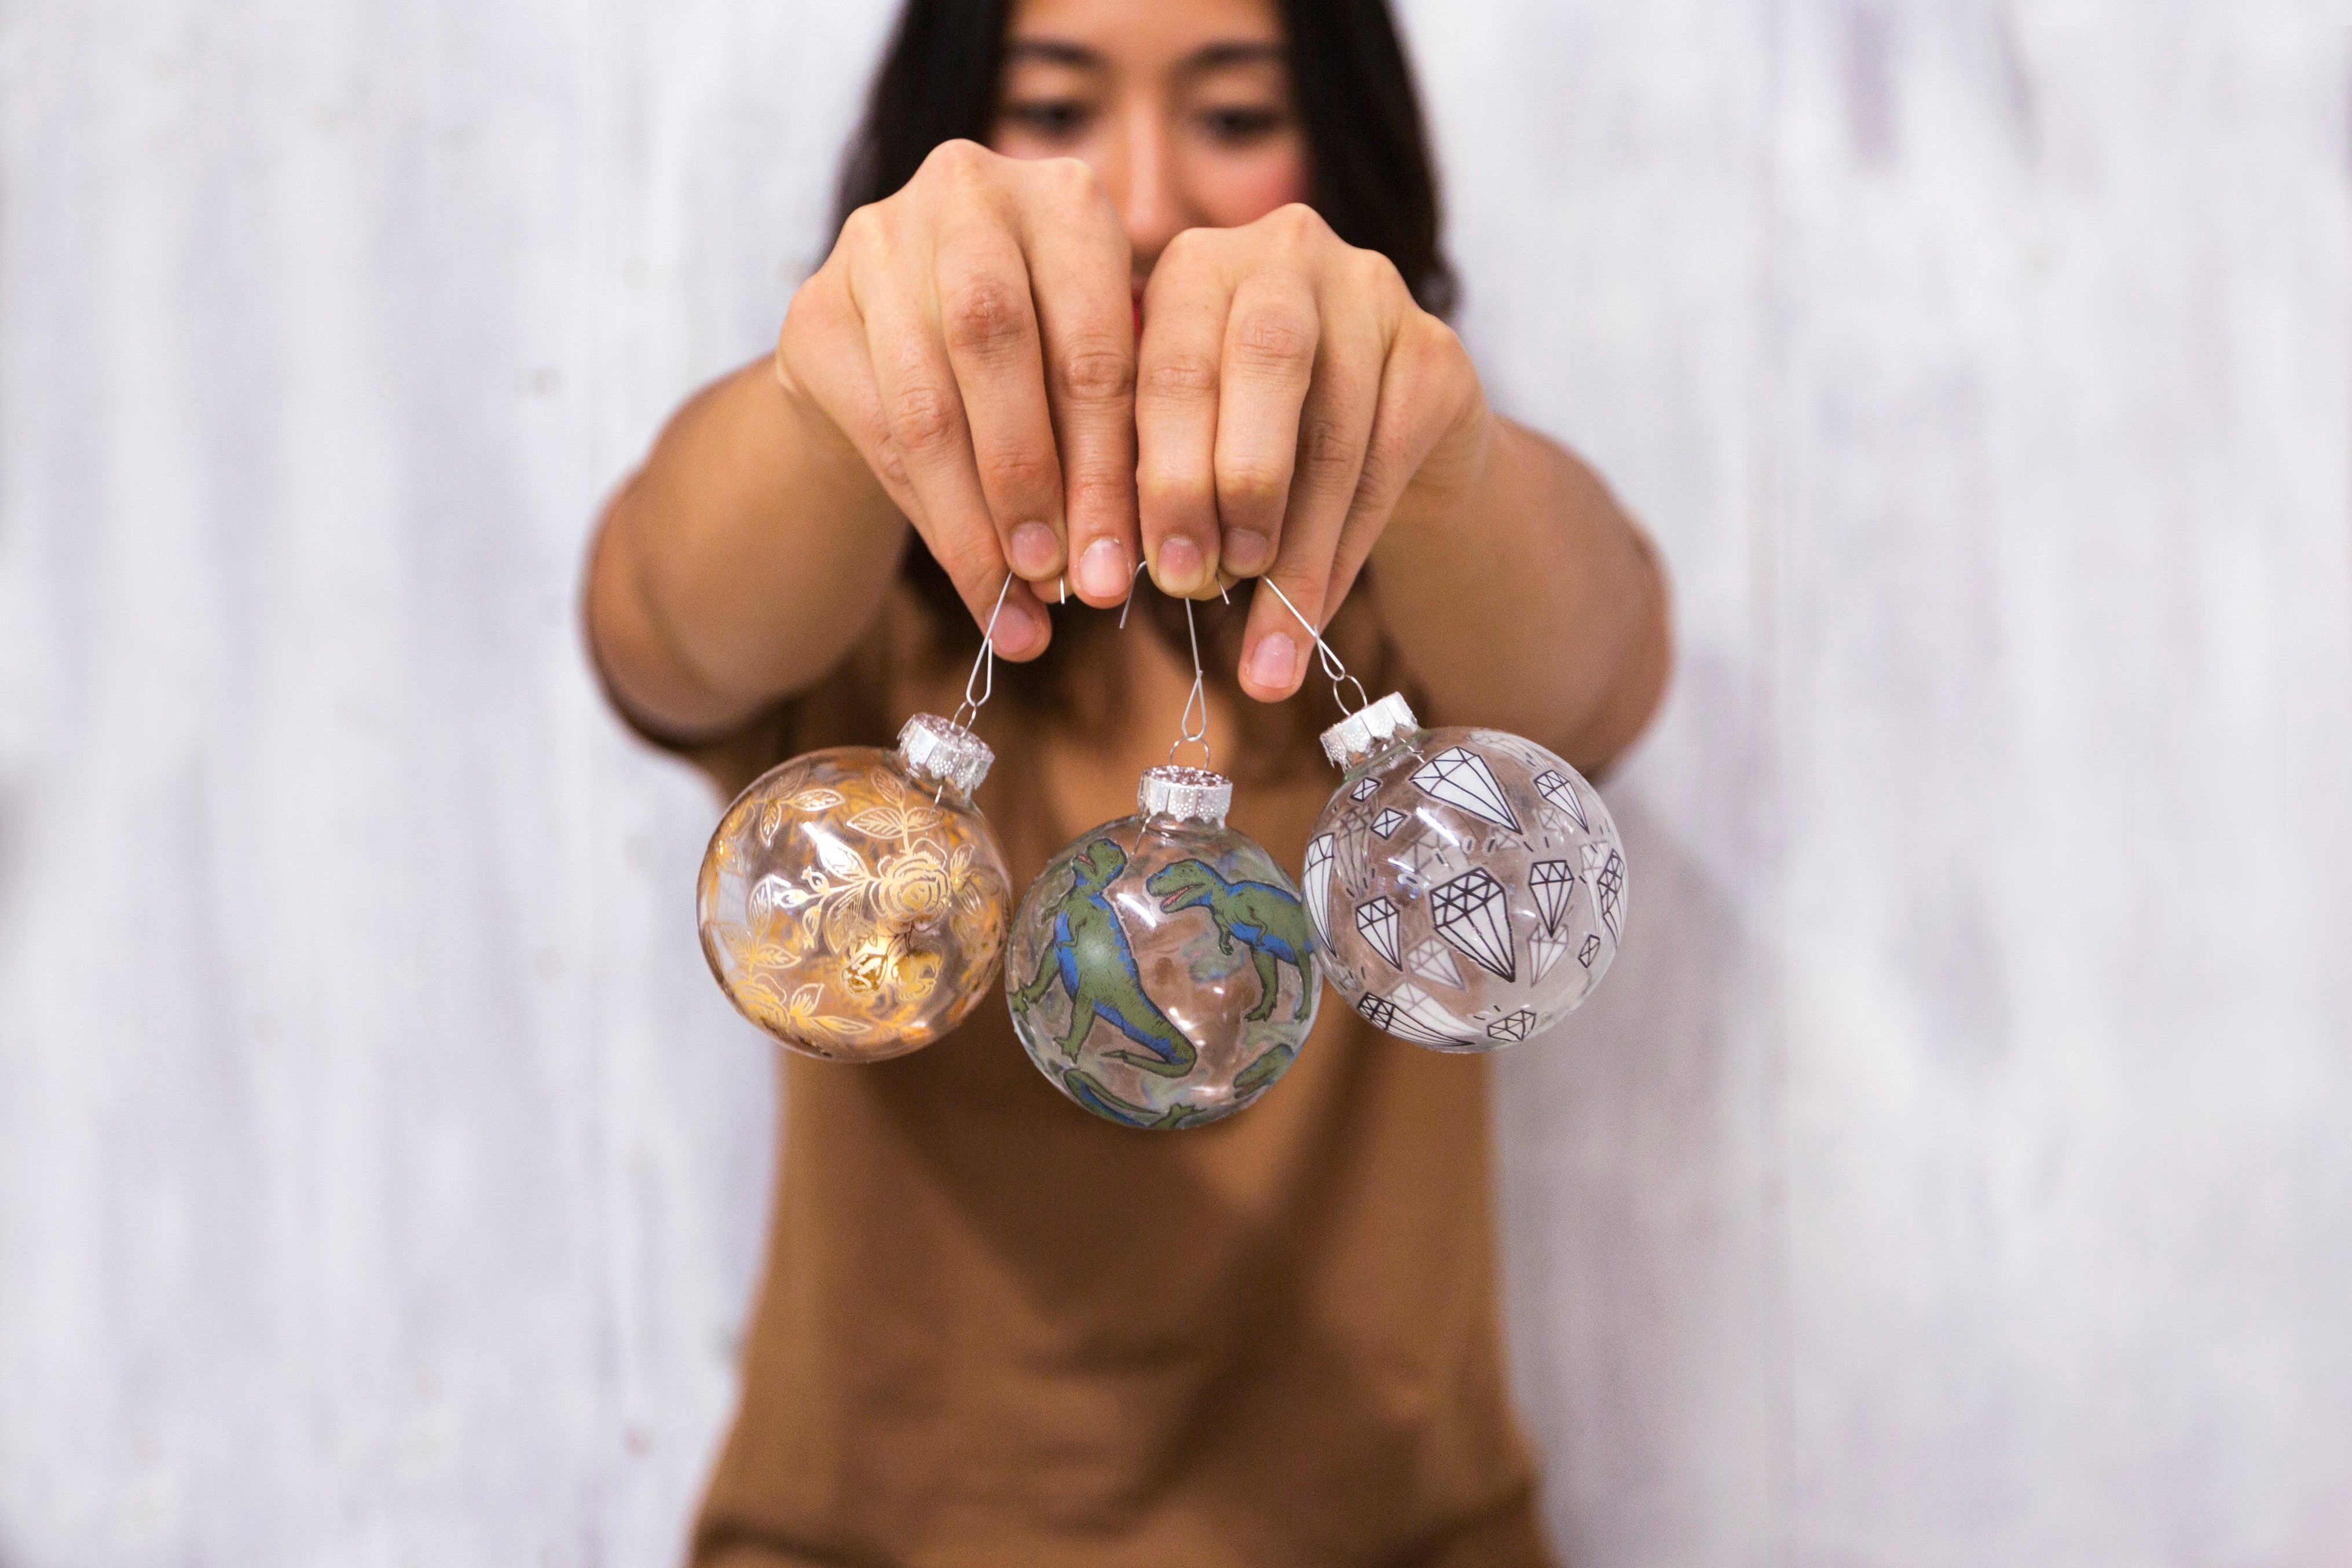
Apply your favorite clear sealant and make one for a friend!
Featured designs: Gold Floral, T Rex, Diamonds, Rifle Paper Co.

Psst.. Metallic Tattly apply a little easier and gosh, they look good! Tattly Sheets are also ideal for this type of DIY.
